About New Season
Sacred Weapons of the Old Continent is the new season mode, in which a series of brand new weapons and skills are introduced.
Sacred Weapons were weapons used by heroes dated back to the earliest days of Soul Continent. Legends were that these weapons were imbued with God's Wrath. For a mysterious reason, parts of these weapons are now scattered throughout the dungeon.
In this season mode, you can assemble your signature weapon with parts from different Sacred Weapons, modify and enhances its powers, and even wield a skill other than your player character's abilities.
Sacred Weapons
Categories of Sacred Weapons
Three categories of Sacred Weapons are bows, swords and staffs. Each category consists of 15 different weapons, and each weapon is composed of 3 parts.
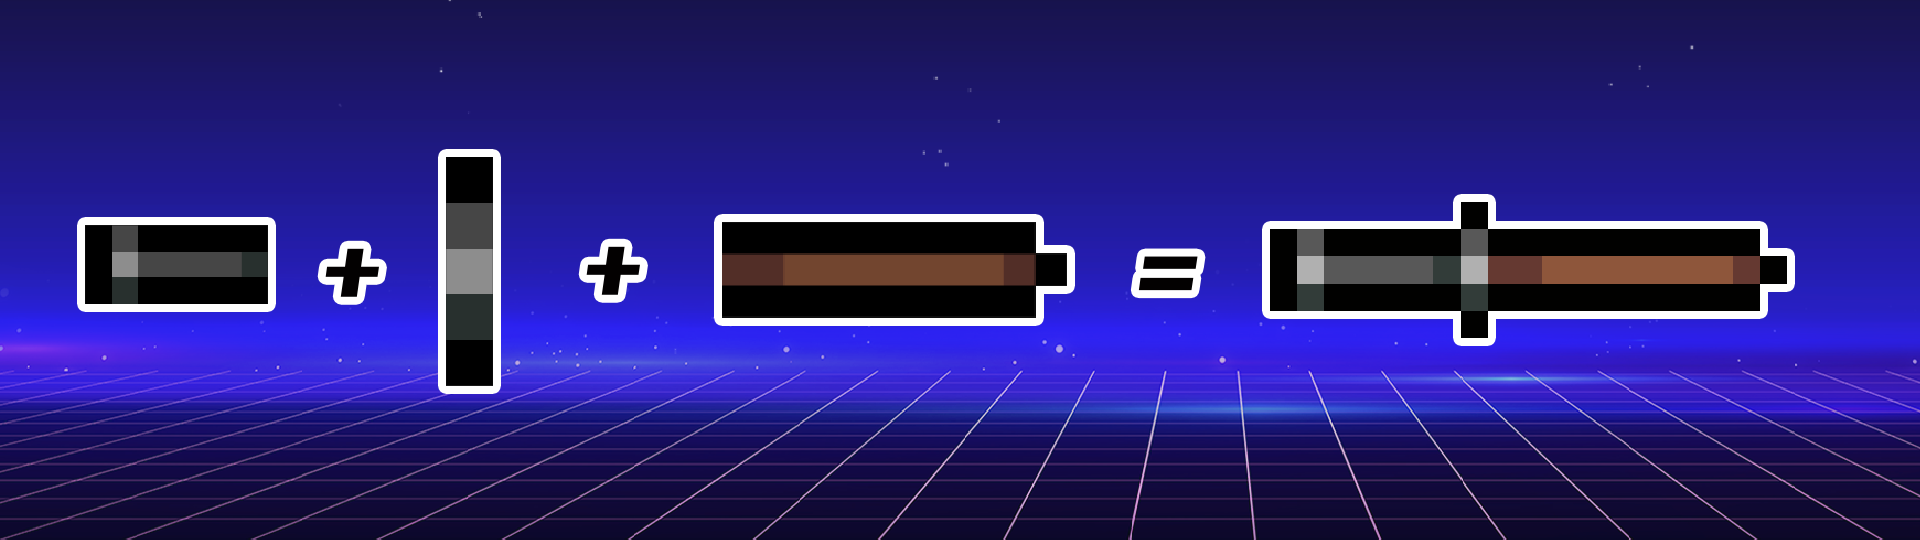
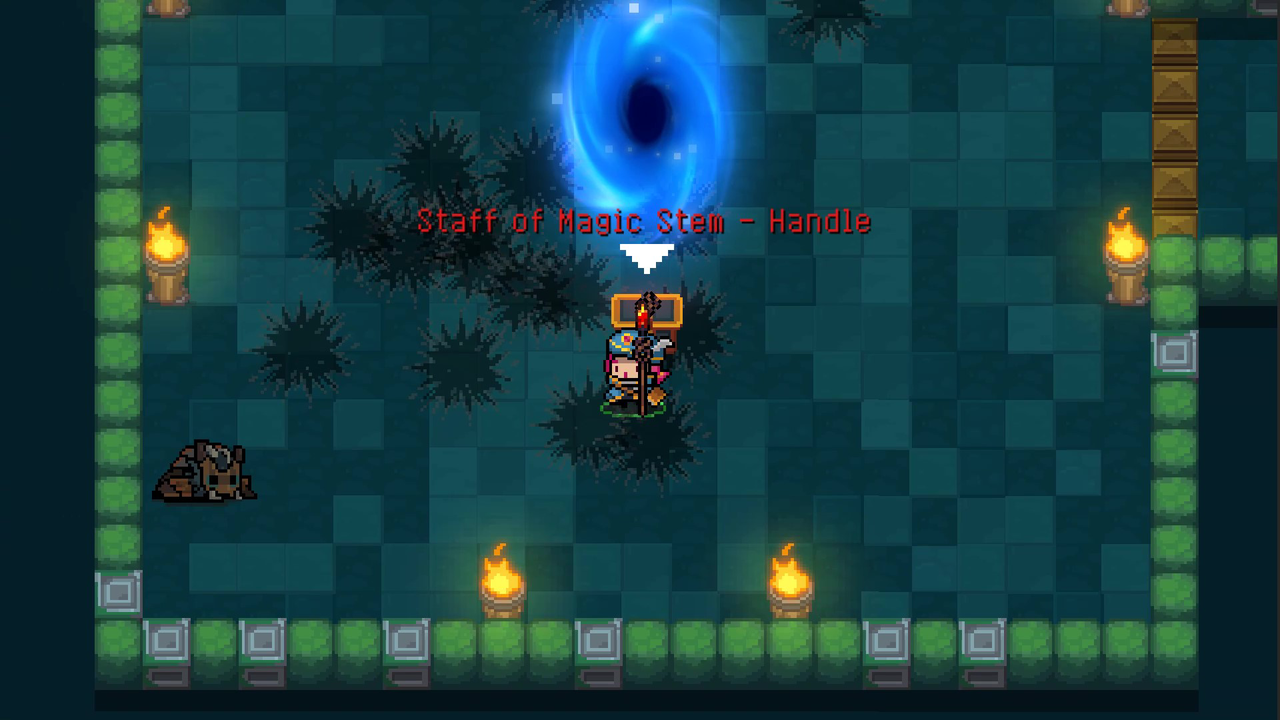
Shaft + Handle + Core = Staff
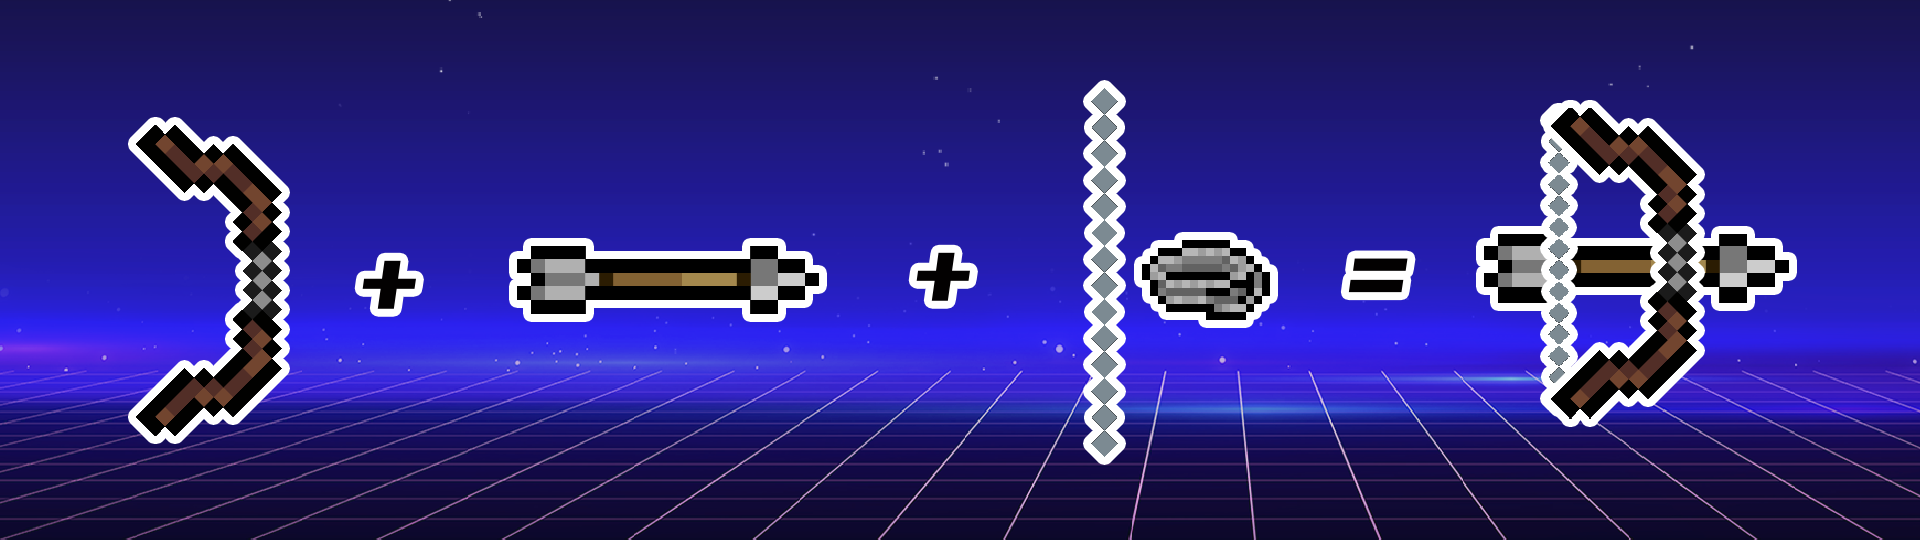
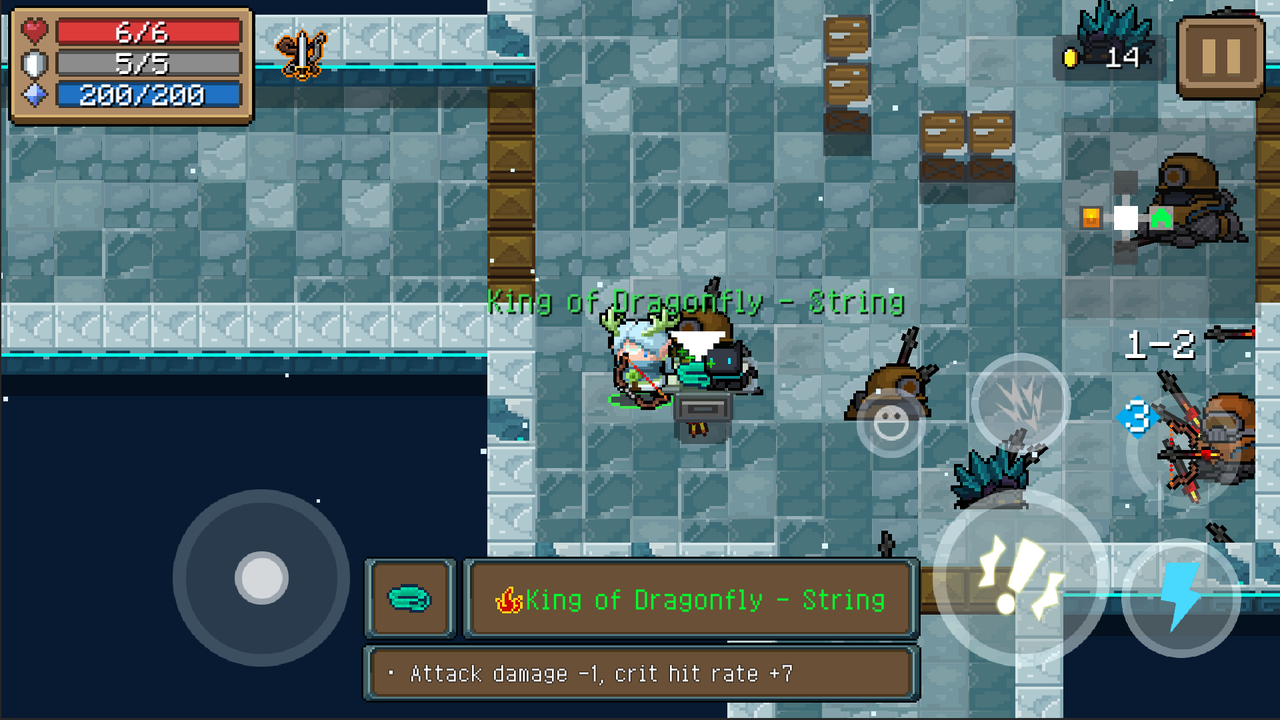
Limb + Arrow + String = Bow
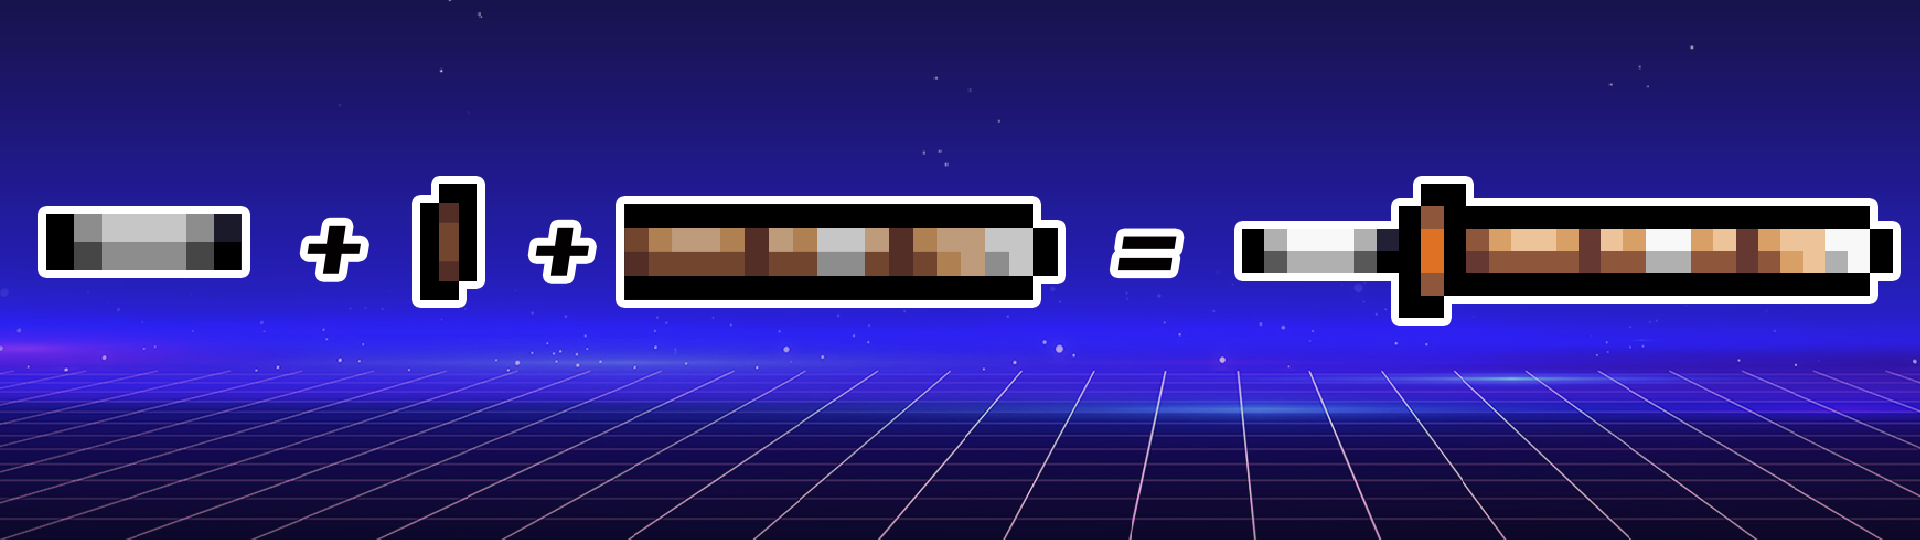
Grip + Guard + Blade = Sword
When you first arrive in the dungeon, you'll be asked to choose one weapon from a bow, a sword or a staff. The weapon you select in the very beginning decides which category of parts can be found later in the run. For example, if you choose a bow, all you can find in the dungeon are limbs, strings, arrows that are interchangeable with parts of your current weapon.
You will be surprised to find out that some parts have unique effects. Others, however, do not yet feature their own effects for now. But in future updates, their moments to shine will eventually come.
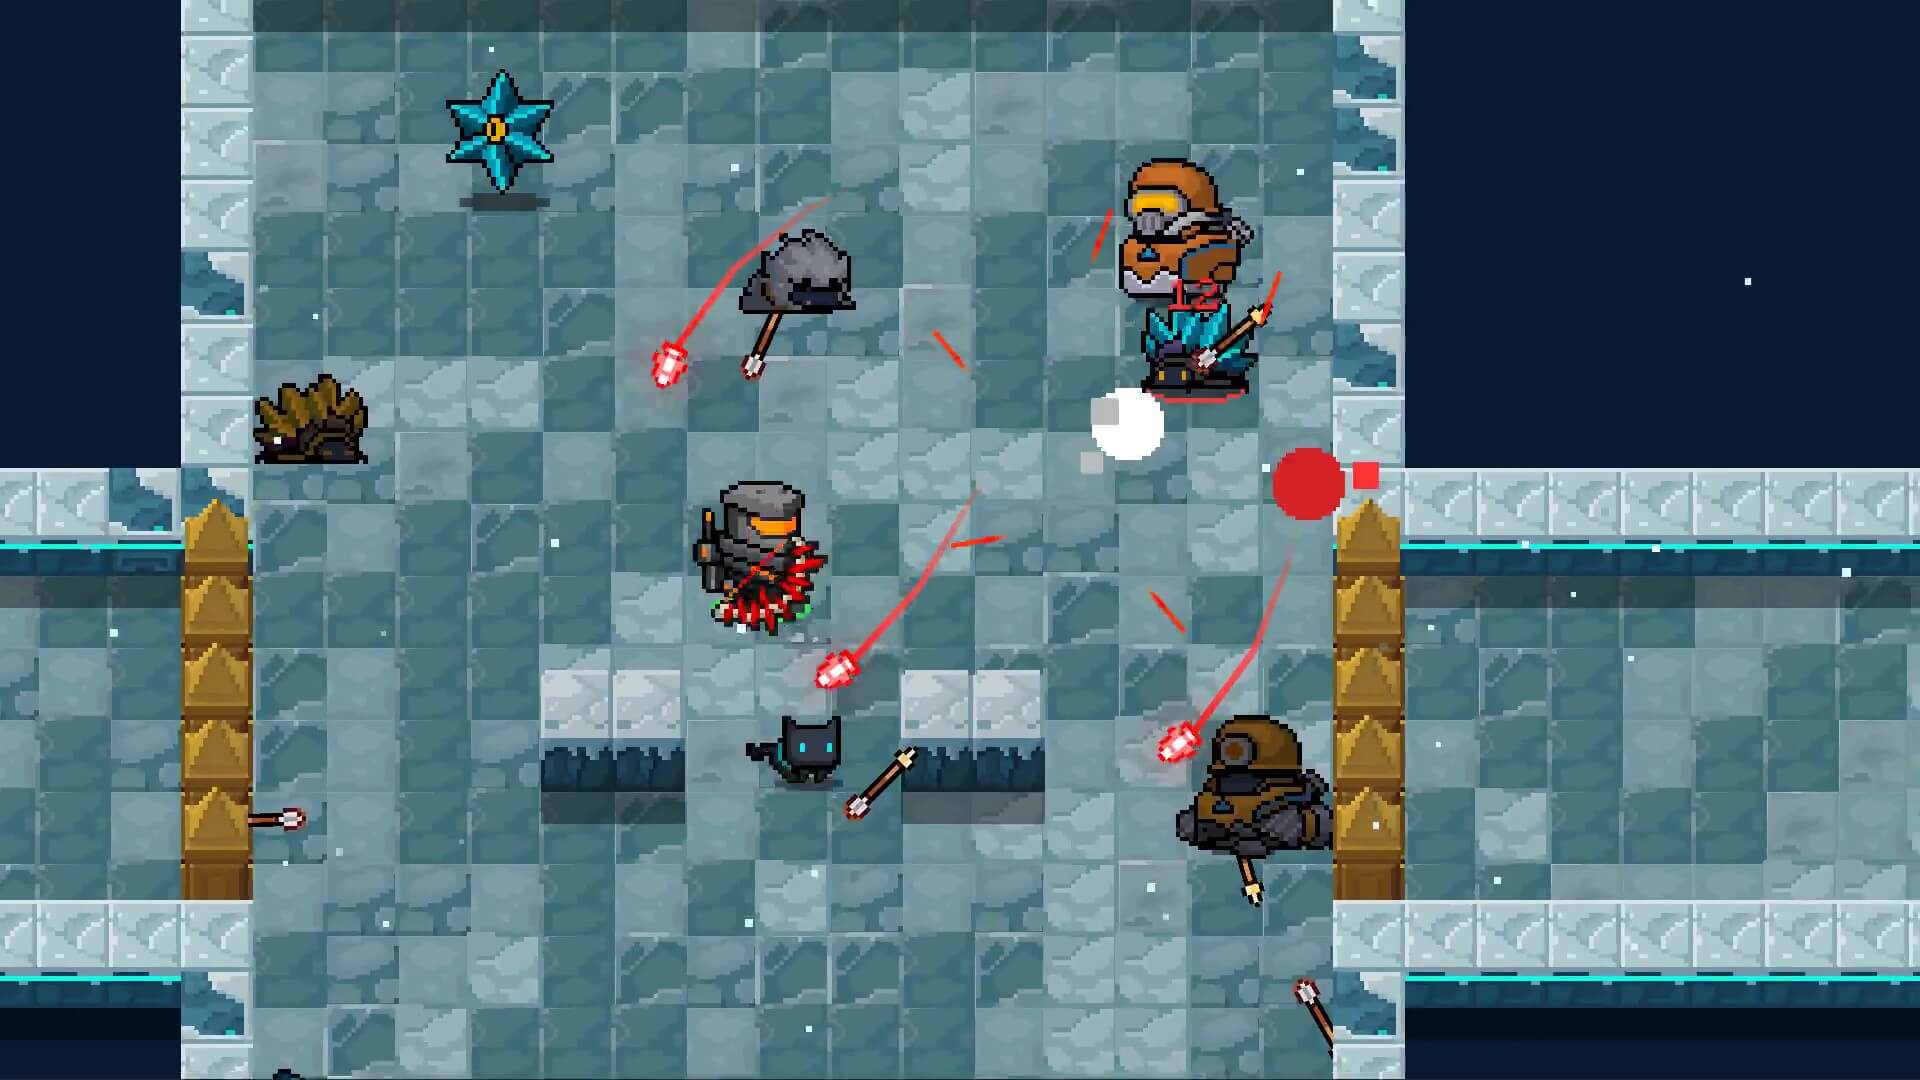
The unique effect of Blood & Bone is that it shoots out extra red tracking arrows.
Parts of Sacred Weapons
Parts come in 6 tiers of rarities, which are (from the lowest to the highest) white, green, blue, purple, orange and red.
White parts have no modifiers, while green ones have 1, blue 2, purple 3, orange and red each have 4. A modifier is basically like a buff that a part carries. The more modifiers a part has, the rarer it gets, and the more powerful the weapon can be.
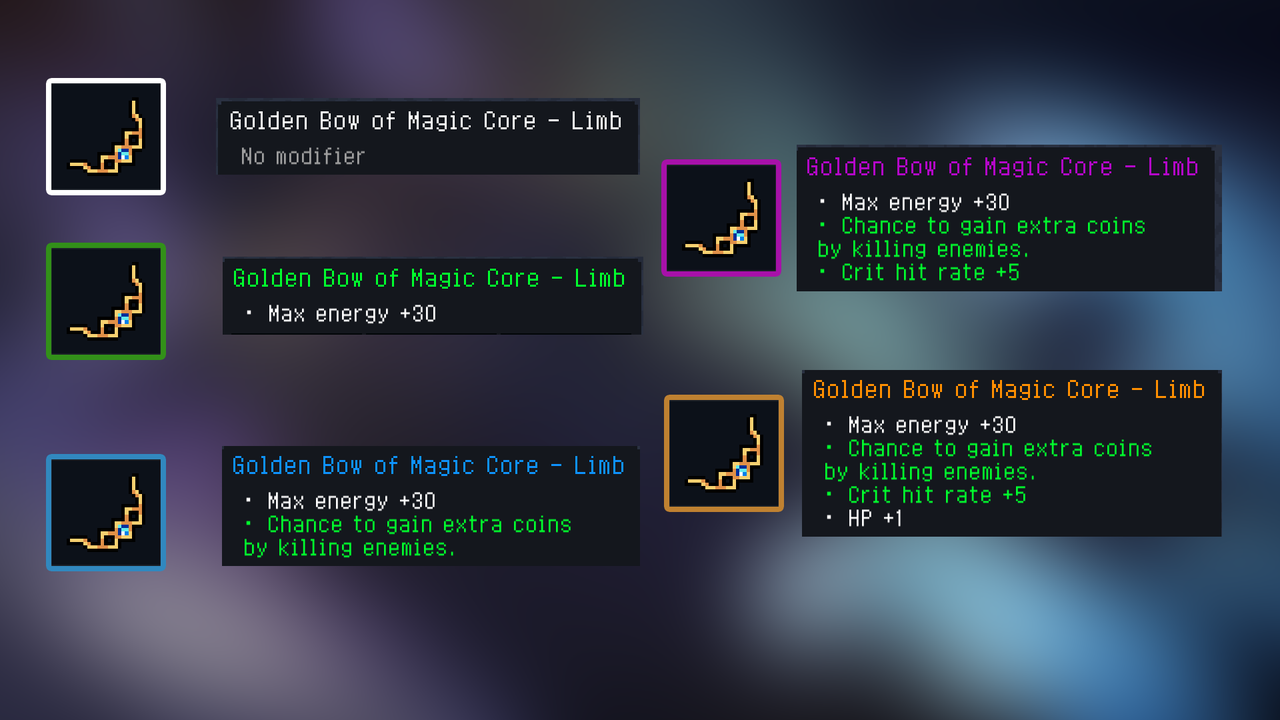
The same part at 5 tiers of rarity.
You can find parts at the Trader's and in chests. But please note that red parts, being the rarest of them all, will only be found in the chest after you clear a boss room.
The only way to get a red part.
Modifiers of Parts
Like parts, modifiers come in 6 tiers of rarity as well, being, from the lowest to the highest, white, green, blue, purple, orange and red. The rarer it is, the more powerful it can be.
Note that the rarity of a part is defined by the number of modifiers it carries, but NOT the rarity of those modifiers. A green part doesn't always have a green modifier. The rarity tier of a modifier is ALWAYS lower than the rarity tier of the part to which it belongs. A green part that has a blue modifier never exists.
It is normal that a part has modifiers of lower rarity tiers.
One red part carries ONLY ONE red modifier. As for the other 3 modifiers, the highest tier they can reach is orange.
Upgrade & Reforge
Instead of constantly changing parts of your weapon, you can stick with one for a while and upgrade or reforge it to your needs.
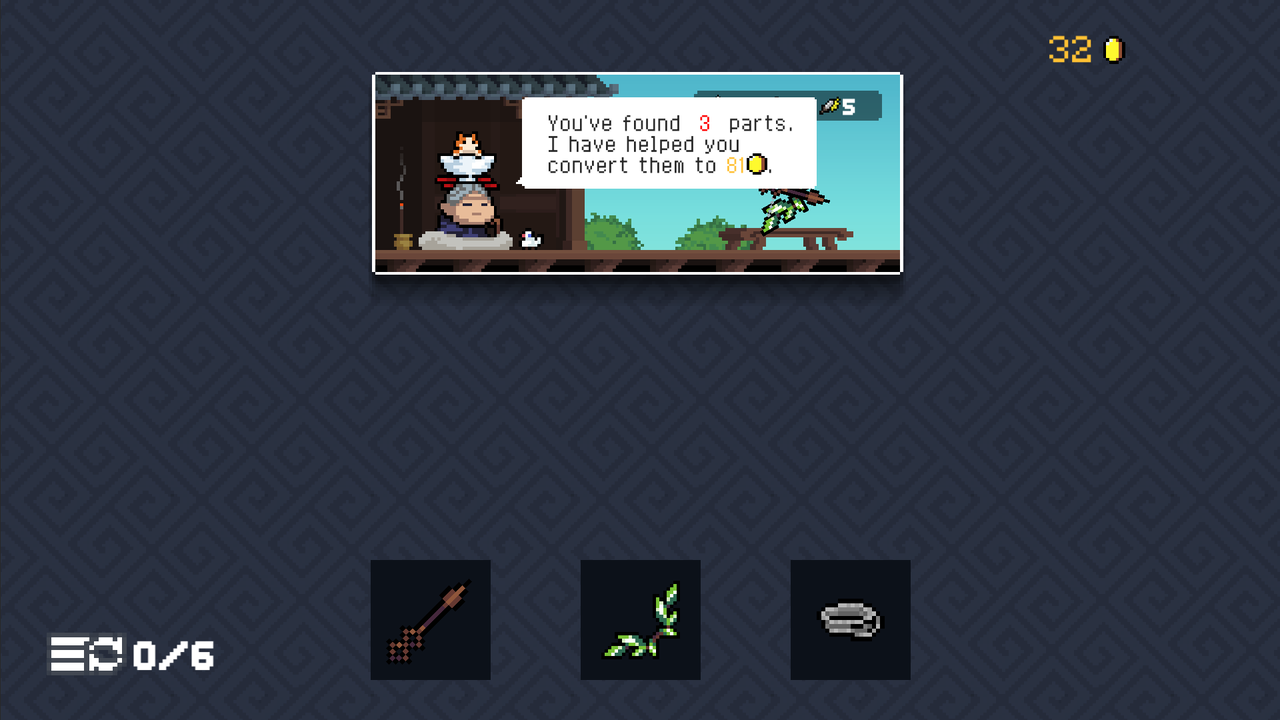
Upgrading or reforging a weapon consumes coins. Besides coins you loot in every level, parts that you leave on the floor will be auto-converted into coins, which you can later spend at Granny Mille between levels. She can help you upgrade a part, upgrade a modifier, and reforge a modifier.
Upgrade Part
Upgrading a part is to level up its tier of rarity, or in other words, adds more modifiers to it.
There is a chance that the upgrade can fail. Keep in mind that, even if the upgrade doesn't work out, Granny Millie won't refund your coins. The rarer the part is, the lower the success rate will be. Yet you may find that the success rate increases a little bit after a couple of failed attempts.
Since red parts can ONLY be obtained by defeating bosses, the highest possible tier you can have a part upgraded to is orange.
Upgrade Modifier
Upgrading a modifier is to level up its tier of rarity, or in other words, makes the buff even more effective.
Unlike upgrading a part, upgrading a modifier succeeds all the time.
Note that the rarity tier of a modifier can never surpass that of the part which that modifier belongs to. For this reason, the highest rarity tier you can have a modifier upgraded to is the same tier as the part. For example, there is an orange part that has one white modifier, and you can only have the white one upgraded to orange, but never red.
The best you can get at Granny Mille's.
Upgrading a part or a modifier consumes the same number of coins.
| Upgrade Part/Modifier | Coins Coinsumed |
|---|---|
| Coins Coinsumed | 10 |
| From green to blue | 22 |
| From blue to purple | 35 |
| From purple to orange | 55 |
Reforge Modifier
Reforging a modifier is to change one modifier into another one of the same rarity tier.
Every time you meet Granny Millie, you can ask her to reforge a modifier up to 6 times. But each time she will charge you more coins (5, 8, 12, 20, 30, 50).

The number on the bottom-left corner indicates how many reforge chances you've used.
God's Wrath
Types of God's Wrath
Via Sacred Weapons, you can wield God's Wrath, a second skill other than your player character's skill.
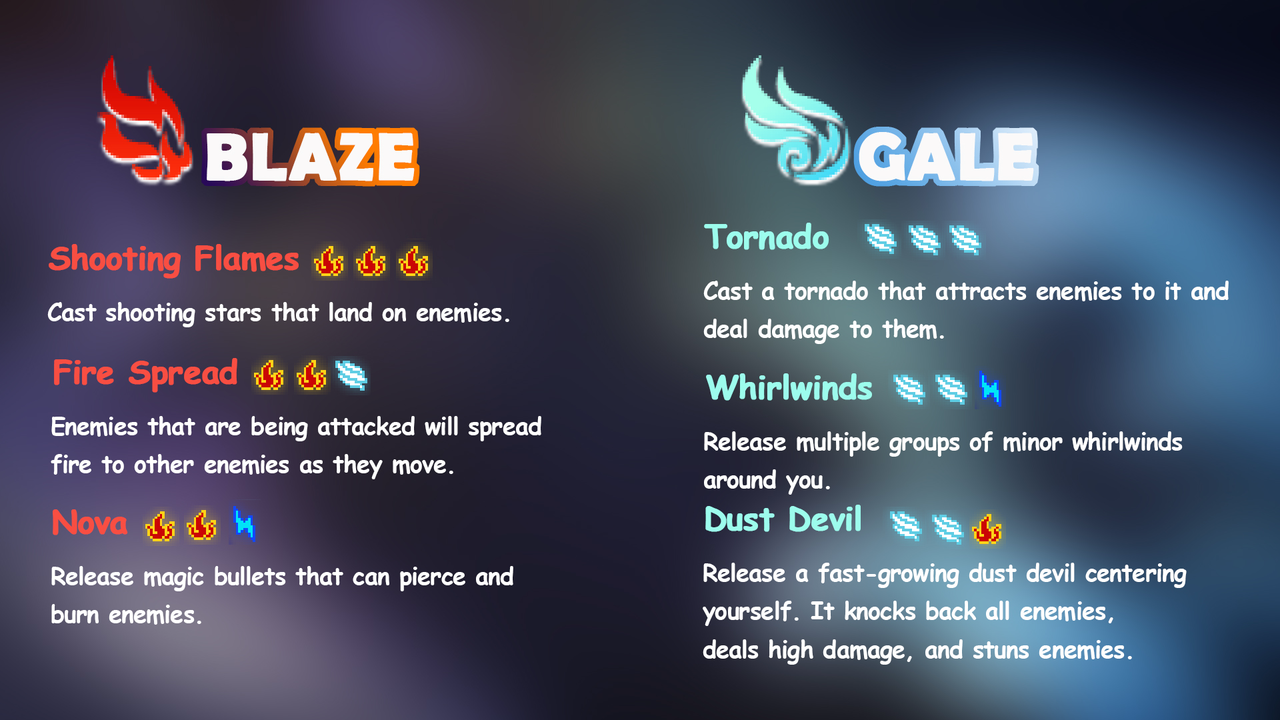
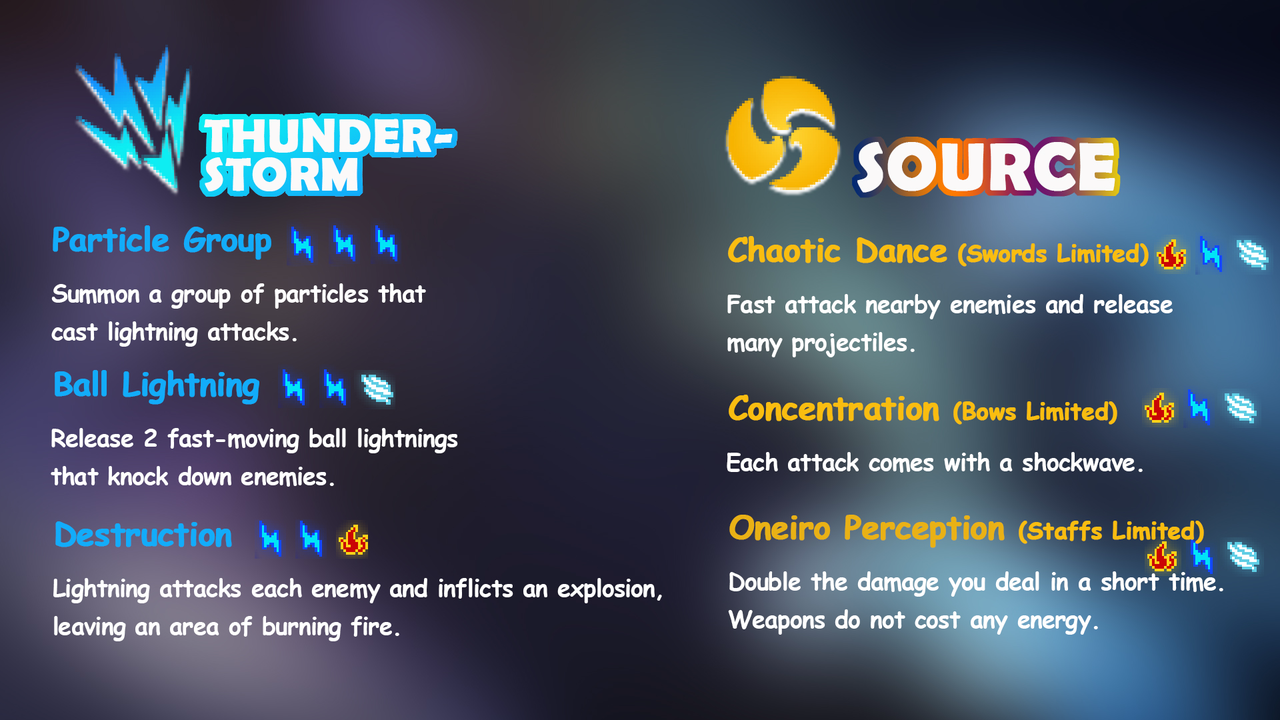
There are 4 types of God's Wrath, which are Blaze, Gale, Thunderstorm and Source. Each type of God's Wrath consists of 3 skills.
Wrath Property
Which type of God's Wrath you can cast is decided by the combination of parts of your weapon.
Each part is engraved with one of the 3 Wrath Properties (Blaze, Gale, Thunderstorm). If 2 parts of a weapon have the same Wrath Property, say Gale, you can wield 1 of the 3 skills of Gale. If all 3 parts of your weapon each have a different property, you can wield 1 of the 3 skills of Source.
Wrath Energy
Casting a God's Wrath skill requires a special kind of energy called Wrath Energy. Wrath Energy replenishes everytime you hit an enemy.
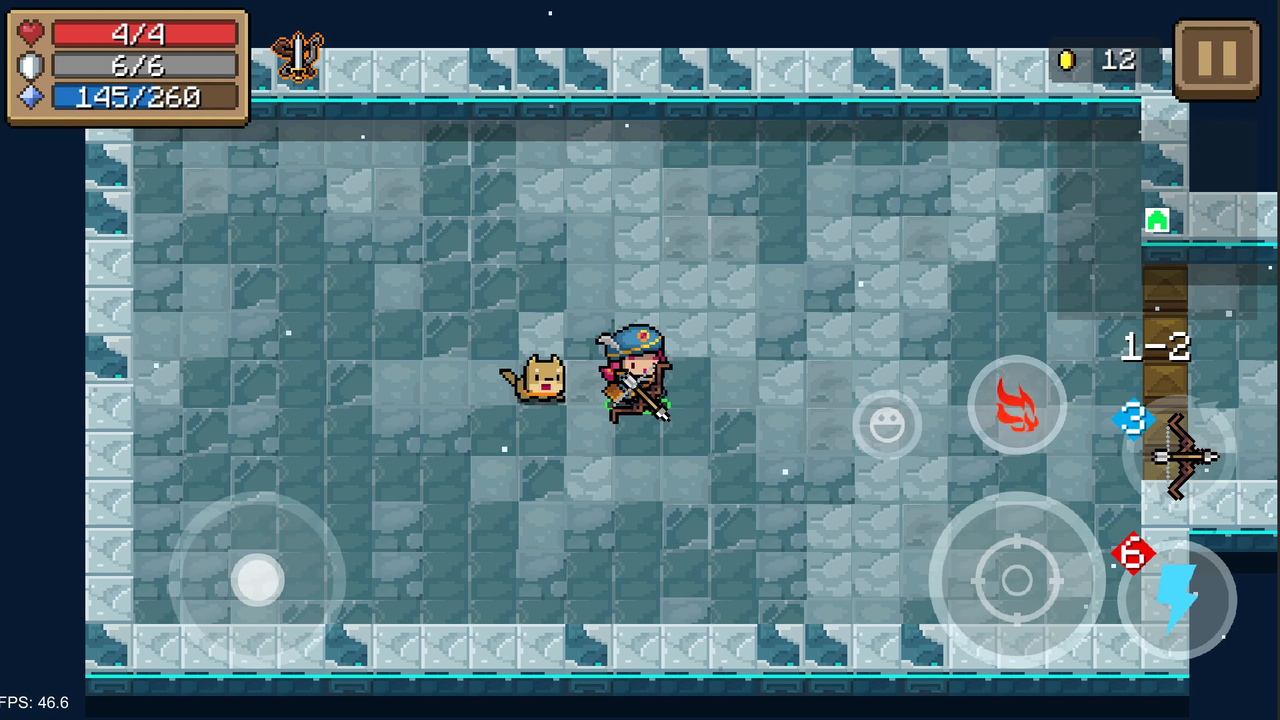
When the God's Wrath icon is lit up, it indicates that you have enough Wrath Energy to release it.
Missions & Rewards
Trophies
Just as in the previous season Little Commander, this season has 3 trophies (Bronze, Silver and Gold) for you to obtain. To obtain each trophy, you need to complete 4 missions, description of which can be checked on the first floor of the Cellar, between 2 doors.
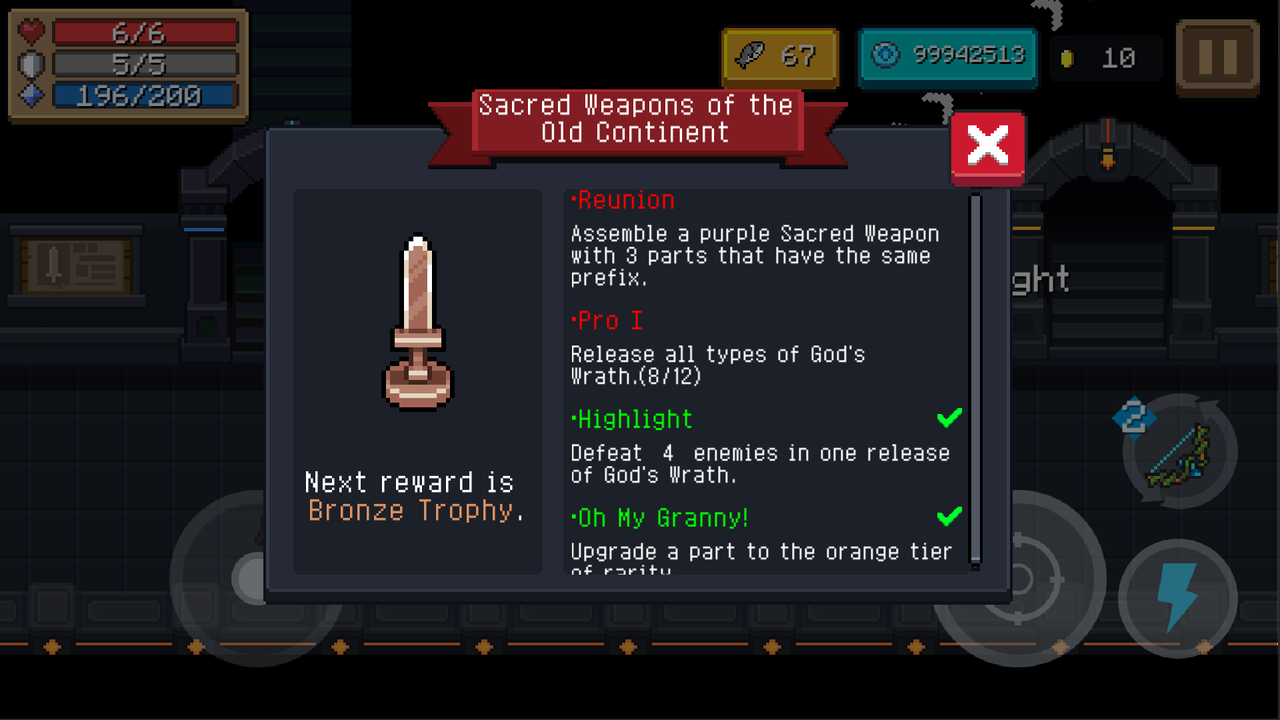
Only when you have completed all 4 missions and unlocked Bronze Trophy, can you check missions of the next trophy to come.
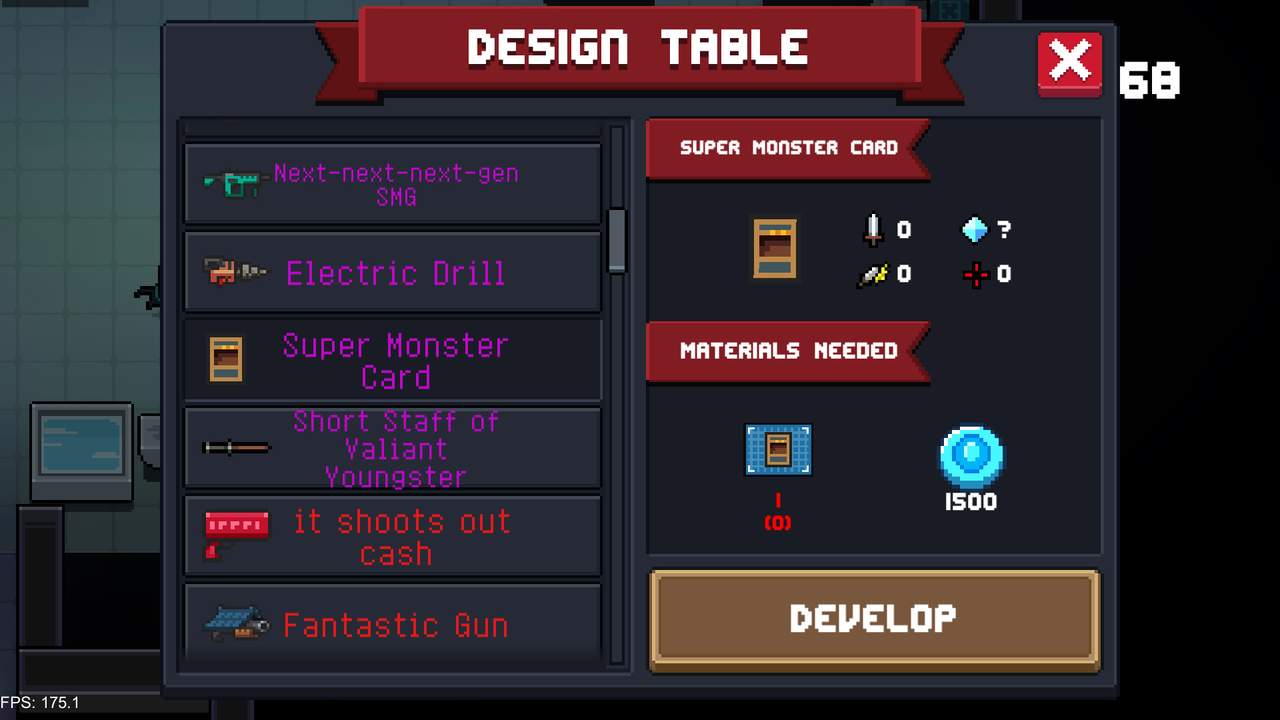
Seasonal Reward
After you have obtained the 2 trophies, you will be rewarded the ultimate prize of this season, blueprints of Super Monster Card and Short Staff of Valiant Youngster.
Special Notice
In the season mode, what awaits you in Level 3-6 is a boss fight.
Daily Challenge isn't compatible with this season.
Some special rooms, like Mentor Room, won't show up in the season mode.
All weapons in Level Mode won't show up in the season mode. And after you have switched to the season mode, you can't take into the dungeon weapons you crafted on the Forge Table.
Regarding battle preparation, drink buffs, including Snow Lotus, and Holy Statue buffs can still be effective in the dungeon, but plants buffs and the magic well buff won't work.
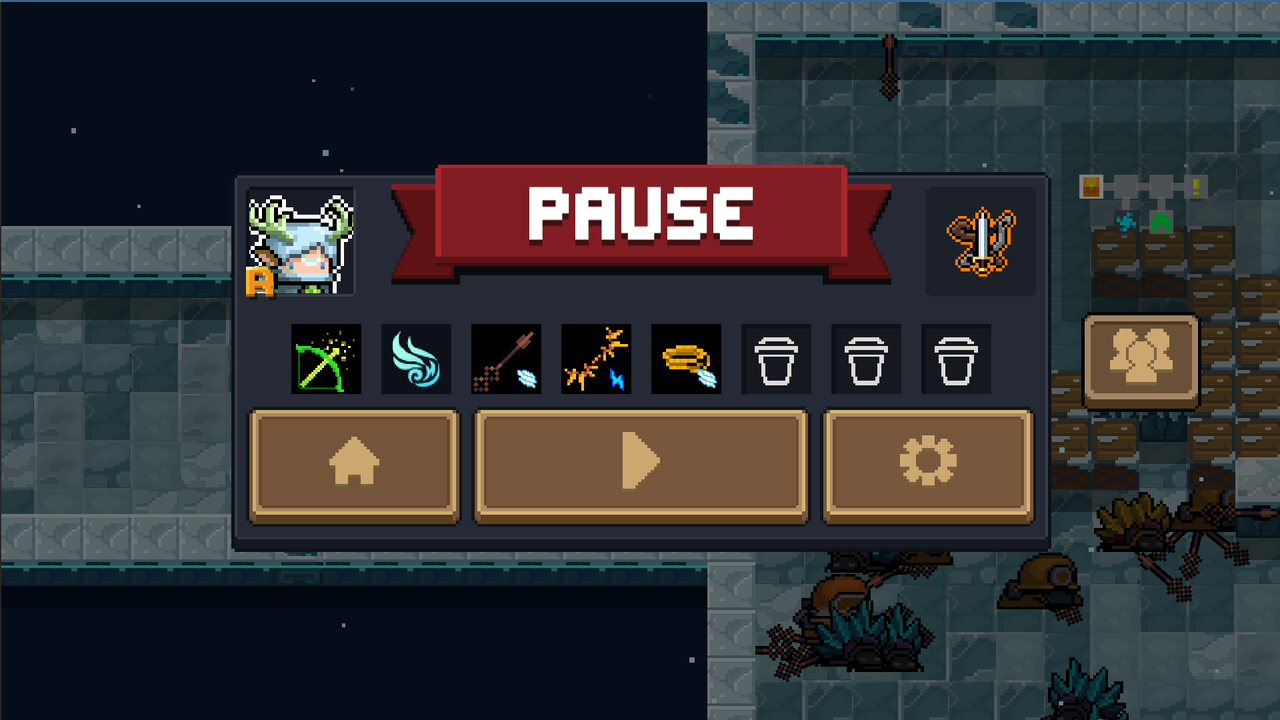
- Pause the game and you can tell which skill you are wielding.